pip install btw
- Add your OpenAI API key
$ btw --add-openai-key <key>
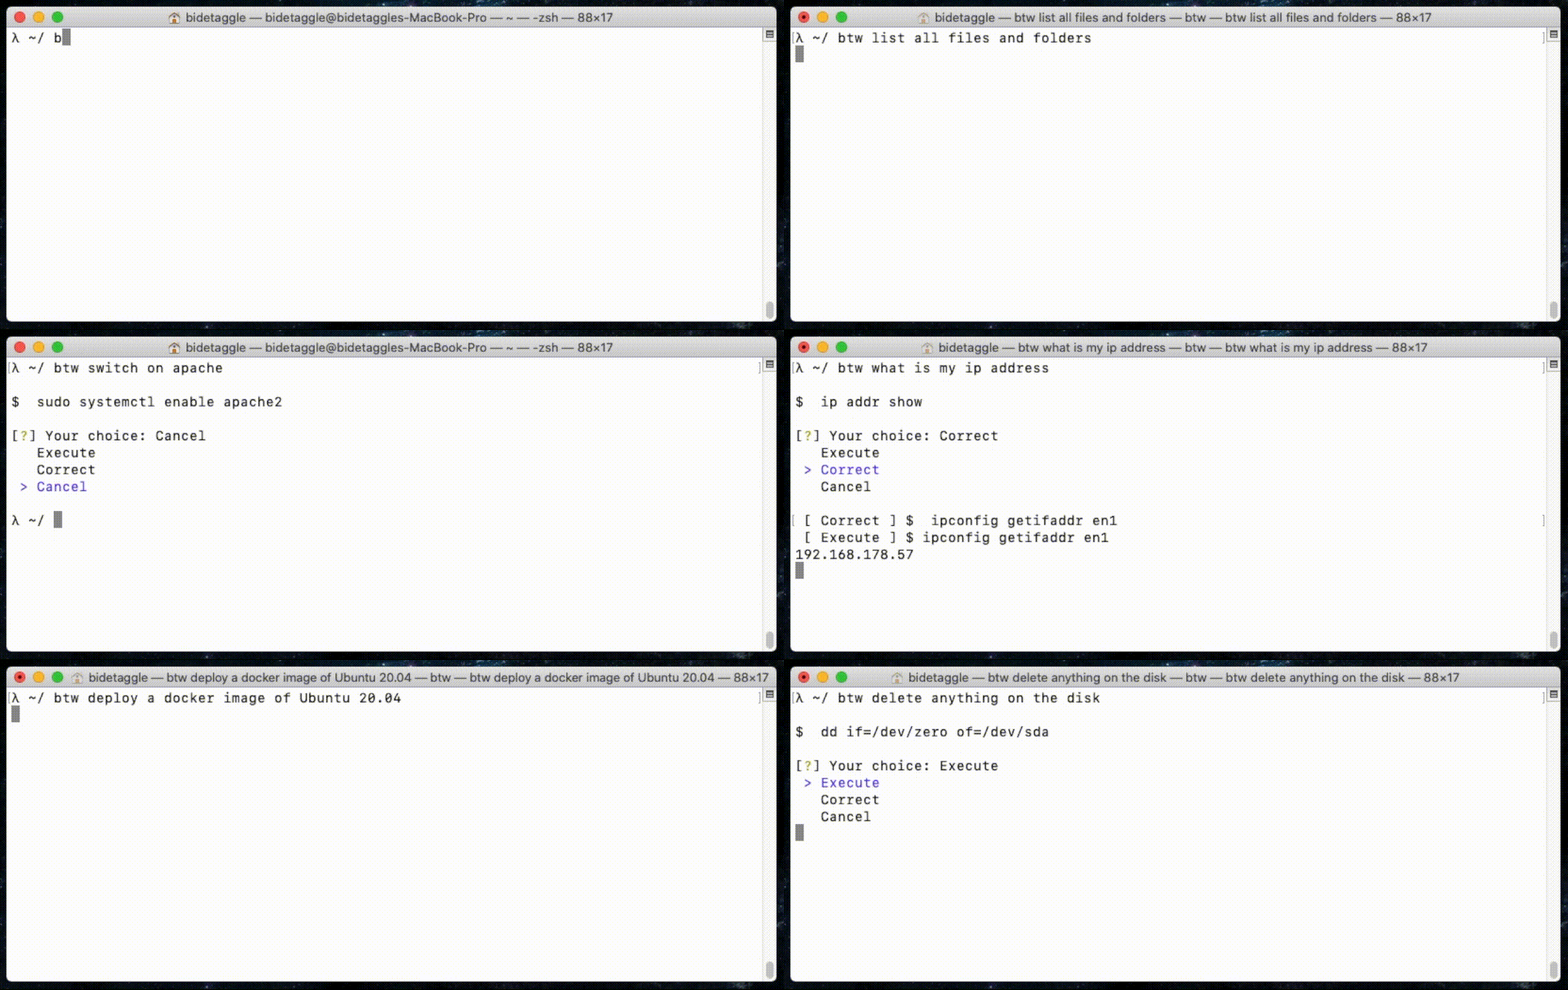
- Ask for terminal commands
$ btw <human command description>
$ btw install oh-my-zsh
openai@localhost $ curl -L https://github.com/robbyrussell/oh-my-zsh/raw/master/tools/install.sh | sh
$ btw make a google search about cooking chicken using curl
openai@localhost $ curl -s "http://www.google.com/search?q=cooking+chicken"
$ btw turn on the bluetooth service
openai@localhost $ systemctl start bluetooth
$ btw delete anything compromising on the disk
openai@localhost $ dd if=/dev/urandom of=/dev/sda bs=1M
For more information about what is Natural Language Processing, I explain in details in the wiki section of this repository. If you have any question please let me know, I'll be happy to extend this document.
$ git clone [email protected]:bidetaggle/btw.git && cd btw
$ virtualenv .venv
$ source ./.venv/bin/activate
(.venv) $ pip install -r requirements.txt
(.venv) $ alias btw="python -m btw"
(.venv) $ btw --add-openai-key <copy/paste your key here>
And you're ready to go 🥳
(.venv) $ python -m unittest
These steps are based on this tutorial.
-
Bump version in
setup.pyandbtw/__init__.py. -
Build the package.
(.venv) $ python setup.py sdist bdist_wheel
This will create two files in a newly created dist directory, a source archive and a wheel.
- Check that the newly built distribution packages contain the files you expect.
(.venv) $ tar tzf dist/btw-X.Y.Z.tar.gz
- Check that your package description will render properly on PyPI.
(.venv) $ twine check dist/btw-X.Y.Z*
- Upload the package on the testing repository.
(.venv) $ twine upload --repository-url https://test.pypi.org/legacy/ dist/btw-X.Y.Z*
- Upload the package (for real).
(.venv) $ twine upload dist/*


